A storm passes. The wind drops, the rain eases, and the first instinct for most facilities managers is to get on site and start fixing things. That instinct is right — but the order matters enormously. What you document in the hours immediately after a storm can be the difference between a straightforward insurance claim and a months-long dispute that costs your organisation thousands of pounds in contested losses.
This guide walks through the documentation workflow facilities managers should follow after every significant weather event: what to capture, how to capture it, and why the sequence is as important as the content itself.
Why Documentation Comes Before Remediation
Insurance adjusters are not on your side, and they are not against you. They are doing a job: establishing what happened, when it happened, and whether the damage is consistent with the reported cause. Their starting point is scepticism, not malice.
When you arrive on site after a storm and immediately patch a roof, clear debris, or instruct contractors to begin repairs without recording the pre-remediation state, you remove the evidence that supports your claim. Courts and insurers call this spoliation — the destruction of evidence, even when unintentional. A claim that might have paid out in full can be reduced, delayed, or rejected entirely because the adjuster cannot verify the extent of the original damage.
The rule is simple: document first, repair second. Even temporary mitigation steps should be photographed before and after they are carried out.
Step One: The Timestamped Photo Record
Your phone is your most important tool in the first hour after a storm. Every photograph taken on a modern smartphone embeds metadata — including the precise date, time, and GPS coordinates — into the image file. This is your first line of evidence.
What to photograph:
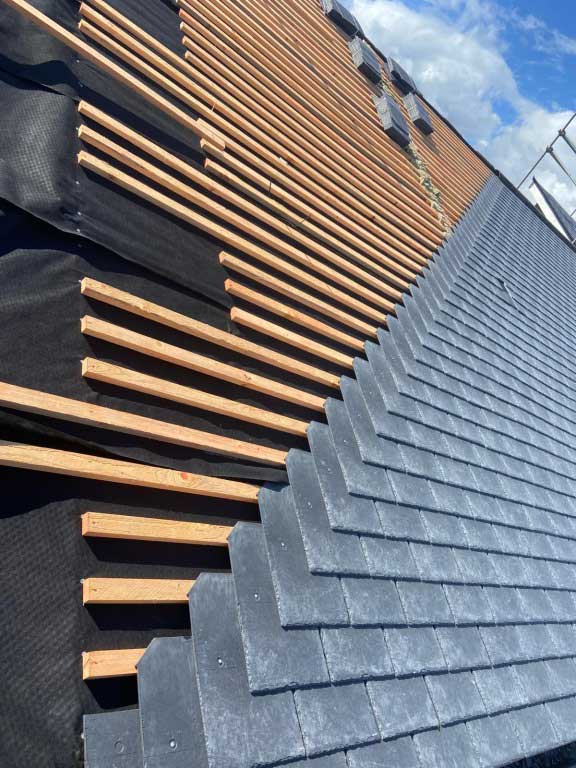
- Roof damage — missing tiles, lifted flashings, cracked or displaced ridge caps, debris impact points. Shoot wide establishing shots first, then close-ups of individual damage points. If you cannot access the roof safely, photograph from ground level and use drone imagery if available.
- Facades and external walls — cracking, render displacement, water staining lines, damaged cladding panels or glazing units.
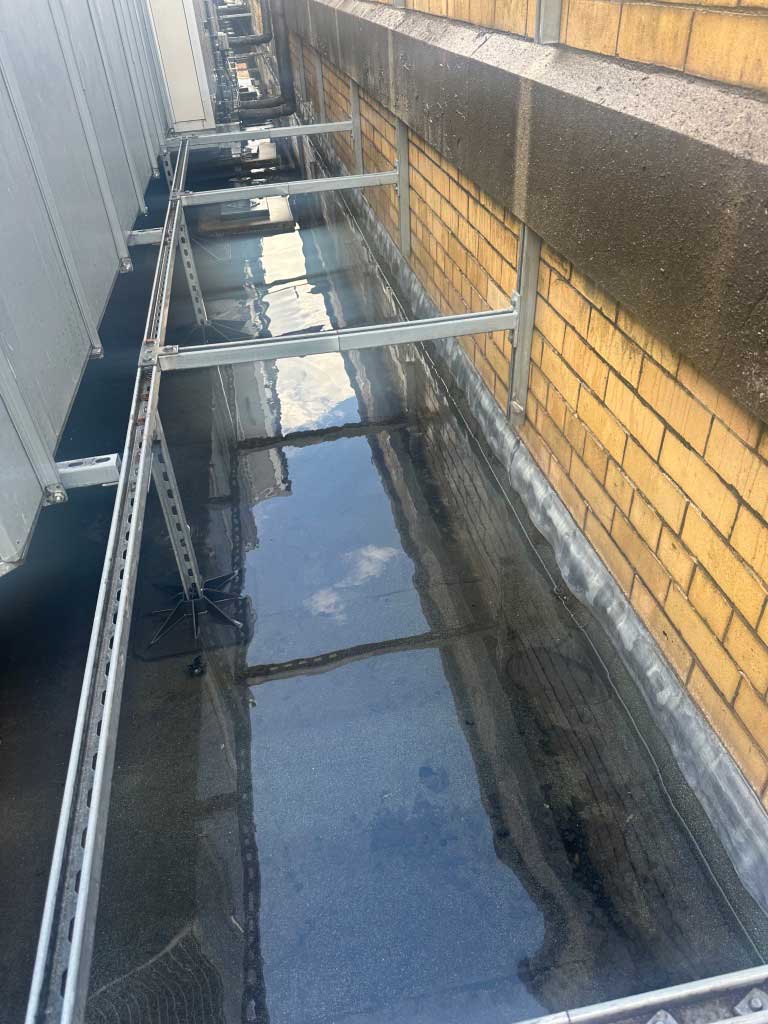
- Gutters, downpipes and drainage — blockages, detached sections, overflow evidence on walls beneath.
- Internal water ingress — ceiling staining, wet plasterwork, damaged floor coverings, pooled water. Crucially, photograph these before placing buckets or towels, which obscures the evidence of how widespread the ingress was.
- Plant and mechanical equipment — external plant exposed to wind-driven rain, damaged roof-mounted HVAC units, breached plant room enclosures.
- Boundary structures — fencing, boundary walls, outbuildings and gate structures, all of which form part of insured structures under most commercial policies.
- Vehicles on site — if company vehicles or tenant vehicles in a managed car park have been damaged by falling debris, photograph the vehicles in situ before they are moved.
Practical tips for the photo record:
Do not delete photographs that show ambiguous or inconclusive damage. An adjuster may later argue that damage visible in a photo you omitted was pre-existing. Keep everything. Organise images into folders by zone or floor immediately — trying to reconstruct the sequence from a camera roll of 200 unsorted images three weeks later is a significant administrative burden.
If your building management system or CCTV has exterior cameras, preserve the footage from the storm period immediately. Storage loops overwrite automatically, sometimes within 72 hours.
Step Two: Leak Mapping
A single storm event can create multiple, overlapping ingress pathways. Water travels. A breach at roof level may not manifest as a ceiling stain until it has travelled horizontally across a vapour barrier, down a structural member, and through a penetration point several metres from the original entry. This makes leak mapping one of the most technically valuable — and most commonly neglected — parts of the post-storm documentation process.
How to produce a useful leak map:
Take a copy of your as-built floor plans or site plan. Using a red pen or digital annotation tool, mark every visible point of ingress or moisture. Note the following for each point:
- Location (room number, grid reference, or clear description)
- Approximate area of staining or saturation (square metres where possible)
- Estimated depth of penetration (surface staining vs saturated substrate vs structural)
- Whether the ingress is active (still dripping) or residual (dried or drying)
Cross-reference the internal map with your external photographs to establish probable ingress pathways. This two-dimensional record does two things: it supports the magnitude of your claim, and it demonstrates professional competence to your insurer. A facilities manager who presents a leak map is demonstrably harder to dispute than one who submits a folder of uncorrelated photographs.
Where moisture meters are available, take readings at each marked point and log them. Quantified moisture data is significantly more compelling than visual evidence alone, particularly for claims involving structural drying or remediation of floor screeds and wall substrates.
Step Three: Recording Temporary Mitigation
Your policy almost certainly contains a duty to mitigate clause. This means you are legally obliged to take reasonable steps to prevent further damage after the initial event. Failing to do so — leaving a breached roof open to a second rain event, for example — can result in your insurer apportioning subsequent damage to your negligence rather than the original storm.
The documentation challenge here is proving that your mitigation was timely, appropriate, and proportionate.
For every temporary repair or protective measure, record:
- A photograph of the damage before the measure is applied
- A photograph of the measure in place
- The time and date of both images
- The name and company of the operative who carried out the work
- A brief written description of what was done and why
Common temporary measures include: installing roof tarpaulins or proprietary roof covers, boarding broken windows or glazed screens, deploying internal flood barriers, extracting standing water, isolating electrical circuits in affected areas, and erecting internal containment to prevent water spread.
Keep all receipts and delivery notes from emergency suppliers. Emergency hire costs for pumps, dehumidifiers, and drying equipment are recoverable under most commercial storm damage policies, but only with supporting documentation.
Step Four: The Written Incident Log
Photographs are evidence of condition. The written log is evidence of sequence — and sequence matters when a dispute arises about whether damage was caused by the storm or pre-existed it.
Your incident log should capture:
- Time of discovery — when you or your team first became aware of the damage, and by what means (routine inspection, tenant report, alarm activation)
- Weather data — the Met Office publishes hourly weather station data online. Download and retain a printout of wind speeds, rainfall totals, and storm warnings for the relevant date and postcode. This is independent corroboration that a significant weather event occurred. Insurers occasionally challenge whether a weather event was severe enough to constitute storm damage under policy definitions.
- Sequence of actions — a chronological log of every action taken, by whom, and at what time. Include phone calls to your insurer, visits to the site, contractor instructions, and any tenant or occupant communications.
- Witness statements — brief notes from security staff, cleaning operatives, or tenants who observed damage as it occurred or immediately after. Even informal notes are useful.
Step Five: Notifying Your Insurer — and What to Say
Most commercial policies require you to notify your insurer as soon as reasonably practicable after a loss. In practice, this means within 24 to 48 hours of discovery for a significant storm event.
When you make first notification, resist the temptation to quantify the loss immediately. You do not yet know the full extent of the damage, and underestimating at first notification can complicate later claims for additional costs. Notify the event, describe the visible damage in general terms, confirm that you are carrying out temporary mitigation, and confirm that you will submit a full loss report with supporting documentation.
Do not instruct permanent repair contractors until either the adjuster has inspected or your insurer has confirmed in writing that you may proceed. This is a common and costly mistake. Permanent repairs carried out before inspection remove the adjuster’s ability to verify the damage, and some insurers use this as grounds to challenge the quantum of the claim.
Building the Documentation Habit Before the Storm Arrives
The best time to establish your post-storm documentation workflow is when there is no storm. Every site should have a pre-existing photographic baseline — a condition record showing the state of the roof, facades, and plant rooms before any damage event. Without a baseline, an insurer can argue that damage visible in post-storm photographs was pre-existing. With one, you can demonstrate clearly what changed.
Pre-event condition surveys, carried out annually or following any significant maintenance programme, are a straightforward and inexpensive precaution. They do not require specialist surveyors — a methodical photographic walkthrough by your facilities team, properly filed and dated, is sufficient for most purposes.
Summary: The Documentation Sequence
To make it actionable, the workflow looks like this:
- Do not begin repairs until you have completed a full photographic record
- Photograph all damage zones with timestamped images, wide and close
- Produce a leak map cross-referencing internal and external evidence
- Carry out temporary mitigation and photograph before and after each measure
- Download Met Office weather data for the event date and retain it
- Write a chronological incident log beginning from first discovery
- Notify your insurer within 24–48 hours, without quantifying the full loss
- Await adjuster inspection or written insurer consent before instructing permanent repairs
Storm damage is rarely avoidable. A contested or underpaid insurance claim usually is — if the documentation workflow is right.
RMLFS provides specialist facilities management services across the UK. For advice on storm damage response, planned preventive maintenance, or building compliance, contact our team.