Installing solar panels is an exciting step towards energy independence and reduced electricity bills. However, rushing into a solar installation without properly assessing your roof’s condition can lead to costly problems down the line. Removing and reinstalling solar panels to carry out roof repairs typically costs £2,000-£5,000, making it essential to ensure your roof is genuinely ready before the solar array goes up.
Before you sign that solar installation contract, take time to inspect your roof for these five critical red flags that indicate preparation work is needed first.
Red Flag #1: Your Roof Is Approaching Its Expected Lifespan
Why This Matters
Solar panel systems are designed to last 25 to 30 years, and you want your roof to match or exceed this lifespan. Installing panels on an ageing roof creates a timing nightmare—you’ll face the substantial cost of removing the solar array, replacing the roof, then reinstalling everything within just a few years.
What to Look For
Different roofing materials have different lifespans in UK conditions:
- Concrete tiles: 40-50 years
- Clay tiles: 50-100 years
- Slate: 60-100+ years
- Asphalt shingles: 20-30 years
- Metal roofing: 40-70 years
- Felt flat roofs: 10-15 years
- EPDM rubber: 30-50 years
If your roof is past the halfway point of its expected lifespan, seriously consider replacement before solar installation. For example, if you have 15-year-old concrete tiles, they’ve got plenty of life left. But 15-year-old felt roofing is already at the end of its serviceable life.
Visual Clues
Look for general signs of age:
- Faded or discoloured roofing material
- Granule loss on asphalt shingles
- Curling, cupping, or lifted edges on tiles or shingles
- Visible wear patterns or thinning
- Multiple previous repairs or patches
The Solution
If your roof is nearing the end of its expected lifespan, replacement before solar installation is the most cost-effective approach. Yes, it’s a larger upfront investment, but it’s far cheaper than paying to remove and reinstall solar panels in five years’ time. Many solar installers offer roofing services or can recommend trusted roofing contractors who understand the specific requirements for solar-ready roofs.
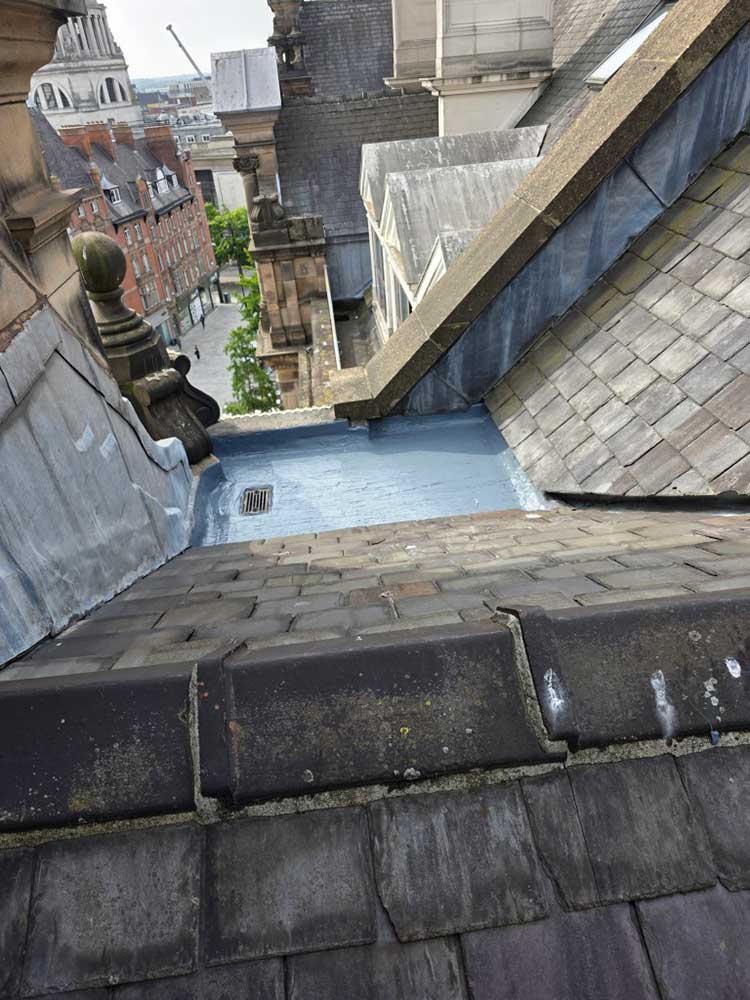
Red Flag #2: Missing, Damaged, or Displaced Tiles and Slates
Why This Matters
Even minor damage to your roof covering compromises its weatherproofing and structural integrity. Solar panel mounting systems add weight and create new penetration points through the roof structure. Any existing weakness will be exacerbated once panels are installed, and repairing individual tiles becomes impossible without removing the entire solar array above the damaged area.
What to Look For
From ground level with binoculars, or carefully from a ladder if safe, check for:
- Missing tiles or slates: Obvious gaps in the roof covering
- Slipped tiles: Tiles that have moved downward from their original position
- Cracked tiles: Visible breaks or fractures across tiles
- Lifted edges: Tiles or slates that aren’t lying flat
- Broken corners: Chipped or damaged corners on tiles
- Moss displacement: Areas where moss has been dislodged, possibly indicating loose tiles
Common Causes
Tile damage in the UK typically results from:
- Storm damage and high winds
- Freeze-thaw cycles causing cracks
- Foot traffic during previous maintenance
- Falling branches or debris
- Natural deterioration of old tiles
- Poor initial installation with inadequate fixings
The Solution
Replace all damaged, missing, or loose tiles before solar installation. A qualified roofer should inspect the entire roof surface, not just the areas where panels will be mounted. This inspection often reveals hidden issues that would cause problems once panels are in place. Ensure replacement tiles match existing ones and are properly fixed with appropriate clips or nails, not just relying on the weight of overlapping tiles.
Red Flag #3: Sagging, Uneven Roof Lines, or Structural Concerns
Why This Matters
Solar panels add approximately 10-15kg per square metre to your roof’s load. Whilst this might not sound like much, it’s significant for a structure that’s already compromised. A sagging roof indicates underlying structural problems—potentially failed rafters, inadequate support, or rot in the roof timbers. Adding solar panels to a structurally unsound roof risks catastrophic failure.
What to Look For
Stand back from your property and look at the roof profile:
- Sagging ridge lines: The apex of the roof should be straight, not dipped
- Uneven roof planes: The roof surface should be smooth and even, not wavy
- Dips or depressions: Visible low spots in the roof surface
- Bulging areas: Sections that protrude beyond the normal roof line
From inside the loft (if accessible):
- Sagging rafters: Roof timbers should be straight, not bowed
- Cracked or split timbers: Any breaks in structural members
- Rot or decay: Soft, crumbly, or discoloured wood
- Evidence of previous repairs: Props, additional supports, or reinforcement plates
Common Causes
Structural problems often stem from:
- Long-term water ingress causing timber rot
- Inadequate original construction (undersized rafters)
- Removal of internal walls that provided support
- Failed ridge boards or purlins
- Damage from previous loft conversions
- Natural settlement over time
The Solution
Structural issues require professional assessment by a structural engineer or experienced roofing contractor. Solutions might include sistering new timbers alongside damaged rafters, replacing failed structural members, or adding additional support. This work must be completed and certified as satisfactory before solar panels are installed. Some structural work may require Building Regulations approval.
Red Flag #4: Evidence of Water Ingress or Previous Leaks
Why This Matters
Water damage is progressive and insidious. A small leak today becomes widespread rot tomorrow. Solar panel mounting systems create new penetration points in your roof, and each penetration is a potential leak point. If your roof already has waterproofing issues, adding solar panels will likely make them worse. Additionally, once panels are installed, diagnosing and repairing leaks becomes significantly more difficult and expensive.
What to Look For
External signs:
- Staining or discolouration on external walls below the roofline
- Damaged or missing flashing around chimneys, valleys, or abutments
- Cracked or perished lead work or mortar fillets
- Blocked or damaged gutters causing overflow
- Staining around roof penetrations (vents, pipes, etc.)
Internal signs (check your loft space):
- Water stains on rafters, underlay, or insulation
- Damp or wet insulation
- Mould or mildew growth
- Drip marks or water trails
- Rust on nails or fixings
- Daylight visible through the roof covering
- Musty, damp smell
Inside living spaces:
- Ceiling stains or discolouration
- Peeling paint on ceilings near external walls
- Damp patches appearing after rainfall
- Mould growth in upper floor rooms
Common Leak Locations
In UK homes, leaks frequently occur at:
- Valley gutters where two roof planes meet
- Flashing details around chimneys
- Abutments where the roof meets a wall
- Around roof windows or skylights
- At ridge and hip tiles
- Through degraded underlayment or sarking felt
The Solution
All leaks must be traced and permanently repaired before solar installation. This often requires professional inspection, as the source of a leak can be far from where water appears inside. Repairs might involve reflashing chimneys, repointing masonry, replacing damaged tiles, or installing new underlayment. Don’t rely on temporary sealants or patches—these will fail once solar panels make the area inaccessible.
Red Flag #5: Inadequate or Deteriorated Roofing Felt/Underlay
Why This Matters
The roofing felt or breathable membrane beneath your tiles provides crucial secondary protection against water ingress. Many UK homes, particularly those built before the 1990s, have traditional bitumen felt underlay that becomes brittle and tears with age. Solar panel installation involves workers accessing the roof, and this activity can cause aged felt to fail. Modern building standards require breathable membranes for solar installations to prevent condensation issues.
What to Look For
Access to your loft space is essential for this inspection:
- Visible deterioration: Felt that’s cracked, torn, or crumbling
- Sagging felt: Underlay drooping between rafters (should be reasonably taut)
- Daylight through holes: Small holes or tears allowing light through
- Brittle texture: Felt that tears easily when touched
- Non-breathable felt: Older black bitumen felt rather than modern breathable membrane
- Missing felt: Areas where underlay has completely failed
- Water marks below felt: Evidence of water tracking across the underlay
Why Modern Membranes Matter
Modern solar installations benefit from breathable membranes because:
- They allow moisture vapour to escape, preventing condensation
- They’re more durable and resistant to tearing
- They provide better secondary waterproofing
- They meet current Building Regulations for roof work
- They prevent problems if a tile becomes dislodged during panel maintenance
The Solution
If your roofing felt is deteriorated or non-breathable, consider a full re-roof or felt replacement before solar installation. This typically involves stripping the existing tiles, installing new breathable membrane, and replacing tiles. Whilst this seems expensive, it’s the right time to do it—before solar panels make the work vastly more complicated and costly.
For roofs in otherwise good condition with adequate felt, you may still need localised felt upgrades in areas where solar mounting systems will be installed, particularly if additional ventilation or condensation protection is required.
Additional Considerations Before Solar Installation
Loft Insulation
If your loft insulation is inadequate (less than 270mm in most cases), upgrade it before solar panels go on. Scaffolding costs can often be shared between roofing and solar work, and improved insulation maximises the benefit of your solar investment by reducing overall energy demand.
Roof Orientation and Shading
Whilst not strictly a roofing red flag, verify that your roof is suitable for solar generation:
- South-facing is optimal, but southeast and southwest work well
- Pitch between 30-40 degrees is ideal for UK latitudes
- Minimal shading from trees, chimneys, or neighbouring buildings
- Sufficient unobstructed roof area for a viable system size
Access and Safety
Consider whether your roof can be safely accessed for:
- Initial installation work
- Future panel cleaning and maintenance
- Eventual panel removal or replacement
- Emergency repairs if needed
Planning and Building Regulations
Most solar installations are permitted development, but listed buildings, conservation areas, or flats may require planning permission. Building Regulations always apply and should cover both the electrical work and structural implications of the installation.
The Cost of Getting It Wrong
To put these red flags in perspective, consider the costs involved:
- Average solar panel removal and reinstallation: £2,000-£5,000
- Emergency roof repairs with panels in place: 2-3× normal cost
- Solar panel damage during rushed roof repairs: £500-£2,000 per panel
- Lost generation during extended repairs: £200-£500 per month
Compare these figures to:
- Pre-solar roof inspection: £150-£300
- Proactive tile replacement: £50-£150 per square metre
- Felt replacement during re-roofing: £3,000-£7,000
- Structural repairs before installation: £1,000-£5,000
The numbers clearly show that addressing issues before solar installation is always more cost-effective than dealing with problems afterwards.
The Solar-Ready Roof Checklist
Before signing your solar installation contract, ensure you can answer “yes” to these questions:
- Is my roof less than halfway through its expected lifespan?
- Are all tiles or slates in good condition with no damage or displacement?
- Are roof lines straight with no sagging or structural concerns?
- Is the roof free from any signs of water ingress or leaks?
- Is the roofing felt or membrane in good condition and appropriately specified?
- Have I had a professional roofing inspection within the last 12 months?
- Is my loft insulation up to current standards?
- Have necessary repairs been properly completed and certified?
If you answered “no” to any question, address that issue before proceeding with solar installation.
Conclusion
Solar panels are a fantastic investment for UK homeowners, offering energy independence, reduced bills, and environmental benefits. However, the foundation of that investment—your roof—must be solid before panels are installed. The five red flags covered here represent the most common issues that can derail a solar project or lead to expensive complications later.
A few weeks spent properly preparing your roof will ensure your solar investment performs optimally for decades to come. Whether that means replacing a few damaged tiles, upgrading your roofing felt, or undertaking more substantial structural work, addressing these issues first is always cheaper and simpler than dealing with them after solar panels are in place.
Before you commit to solar installation, invest in a thorough roofing inspection by a qualified professional who understands the specific requirements of solar-ready roofs. Your future self—and your bank balance—will thank you for it.